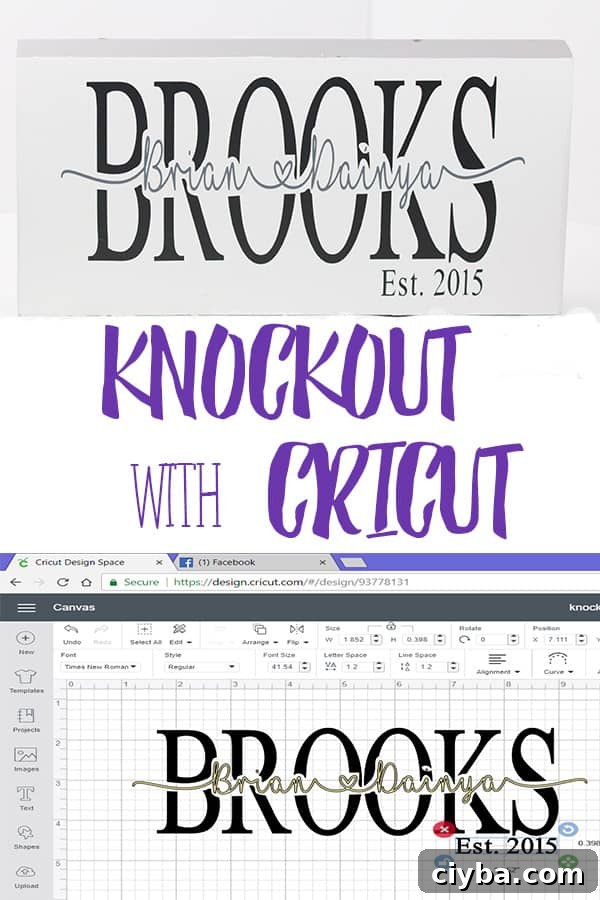
A step-by-step guide to creating a last-name knockout image
Quickly design a custom gift perfect for couples, weddings, anniversaries, or housewarmings.
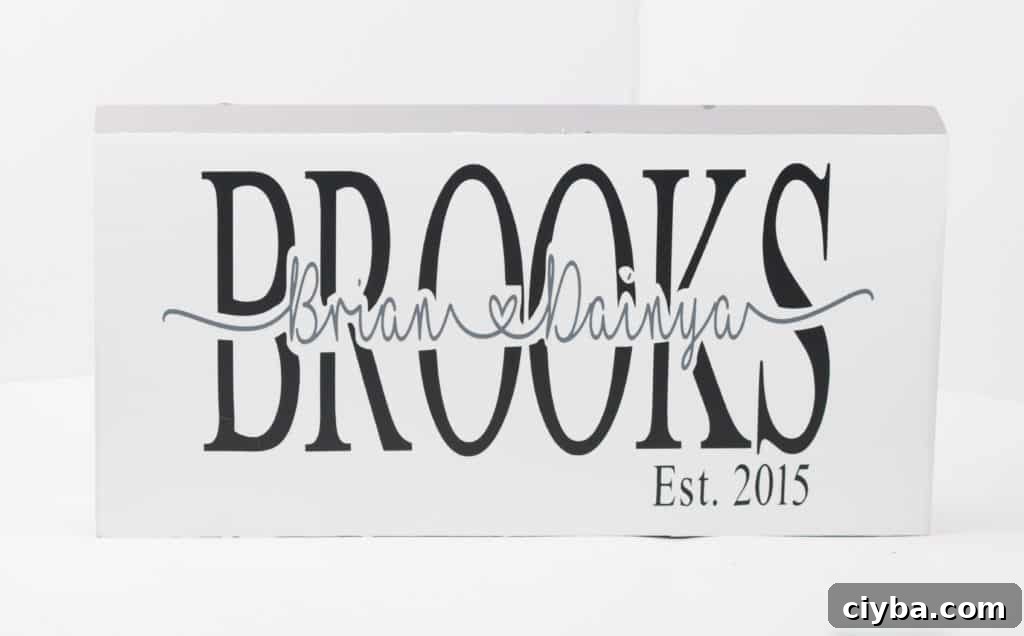
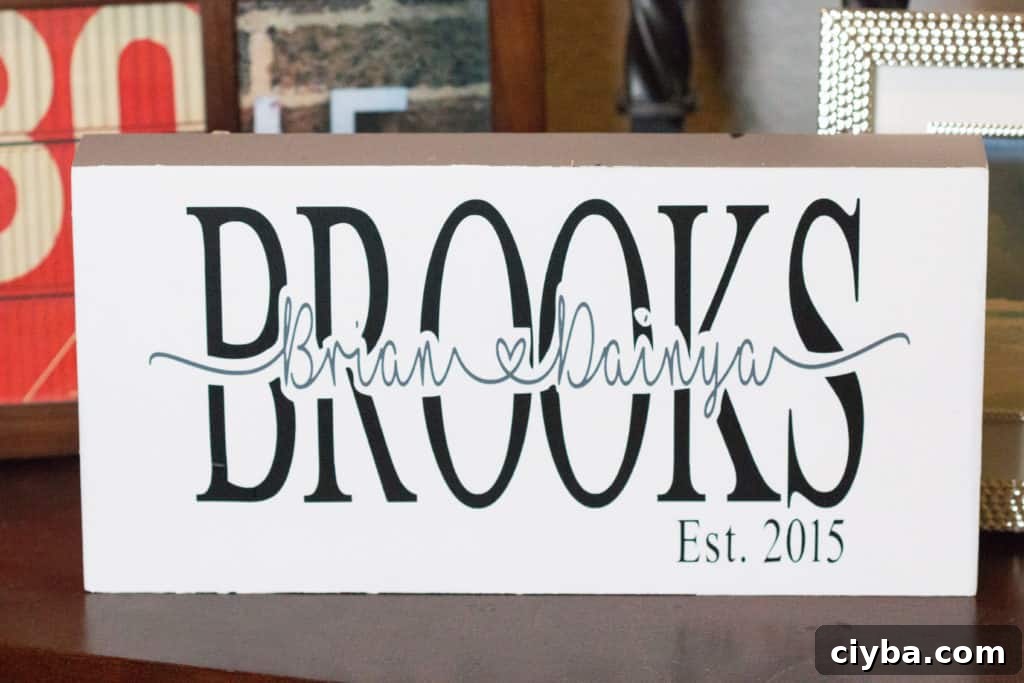
Knockout name images have become a popular way to make meaningful, personalized decor. They work beautifully as framed wall art, wooden signs, or vinyl transfers for home projects. This tutorial walks you through the entire process in Design Space so you can create a polished last-name knockout with the couple’s first names inside the letters.
You can adapt these designs for Mother’s Day, anniversaries, housewarmings, or any occasion where a custom, handmade gift is appreciated.
Below are the clear steps, with images, to help you build your knockout image from start to finish.
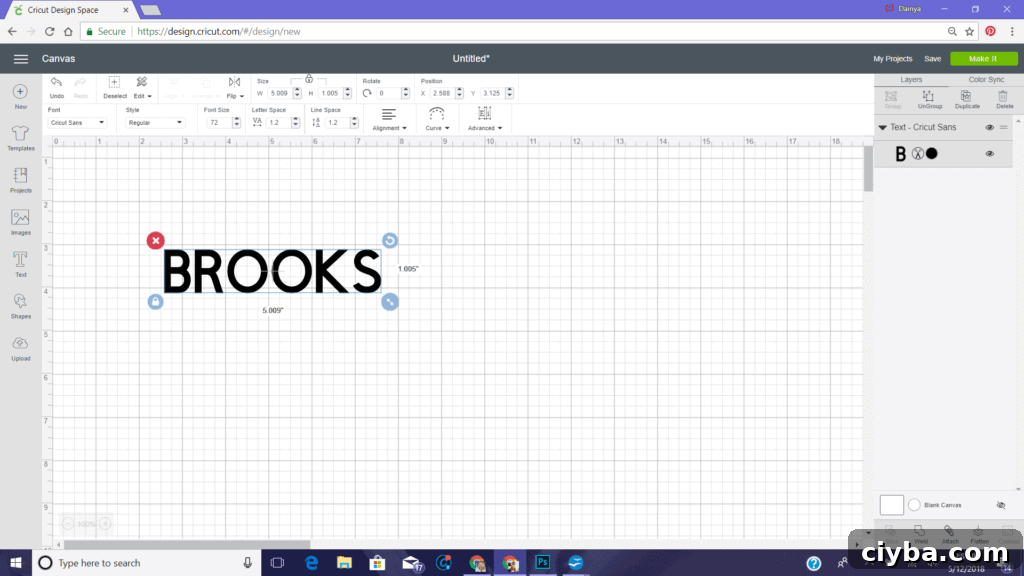
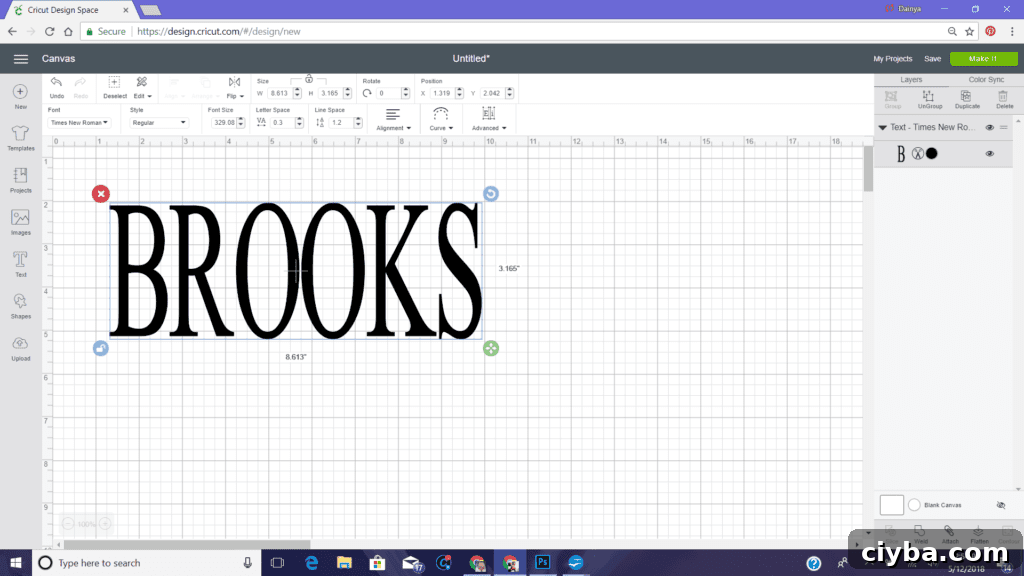
1. Create the last name: Open a new project in Design Space, add a text box, and type the last name in all caps. Choose a strong, serif font like Times New Roman for a classic look.
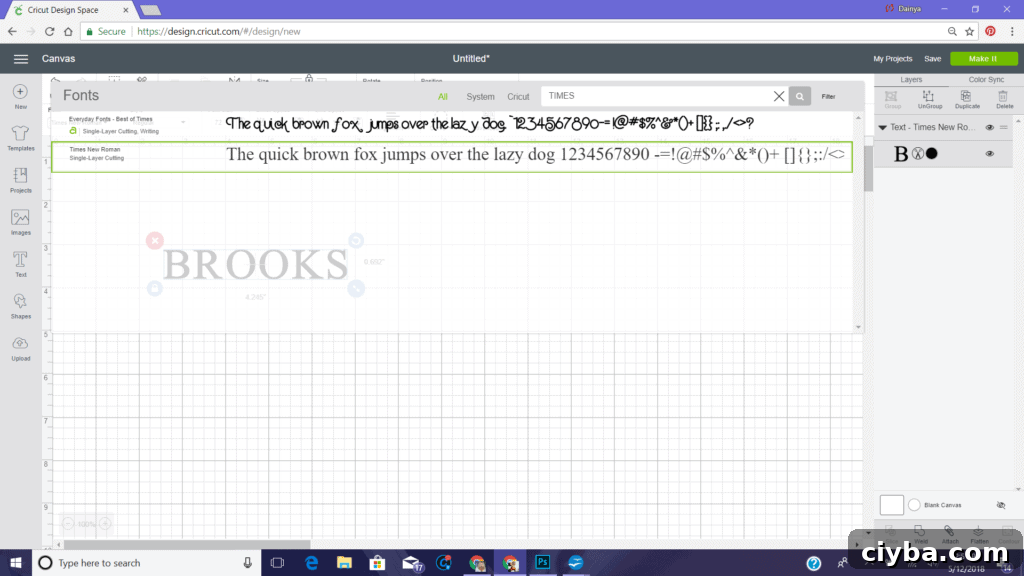
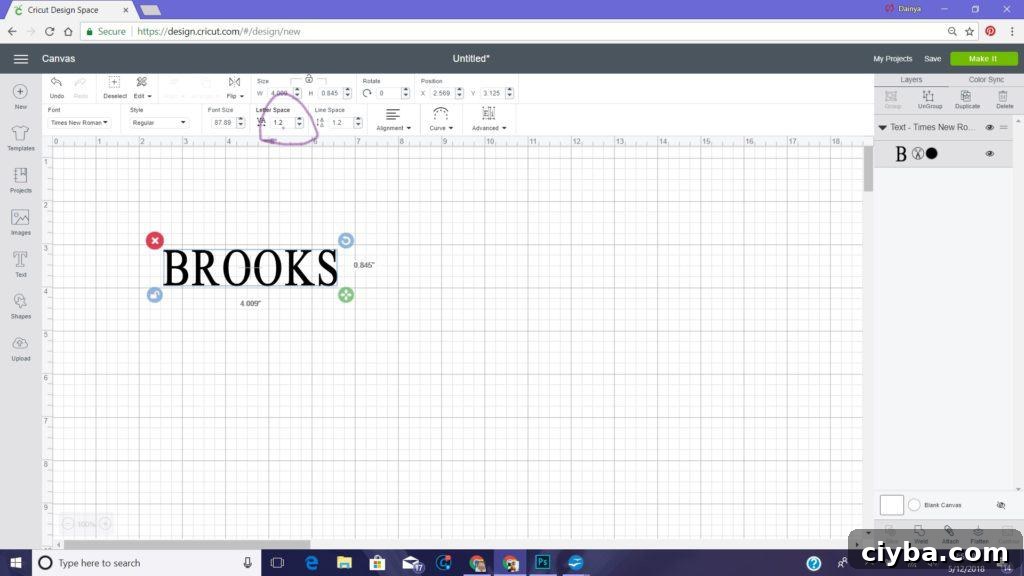
2. Adjust spacing and size: Reduce letter spacing so the characters sit close together without touching. Unlock the text box if needed to resize both height and width to fit your final project dimensions.
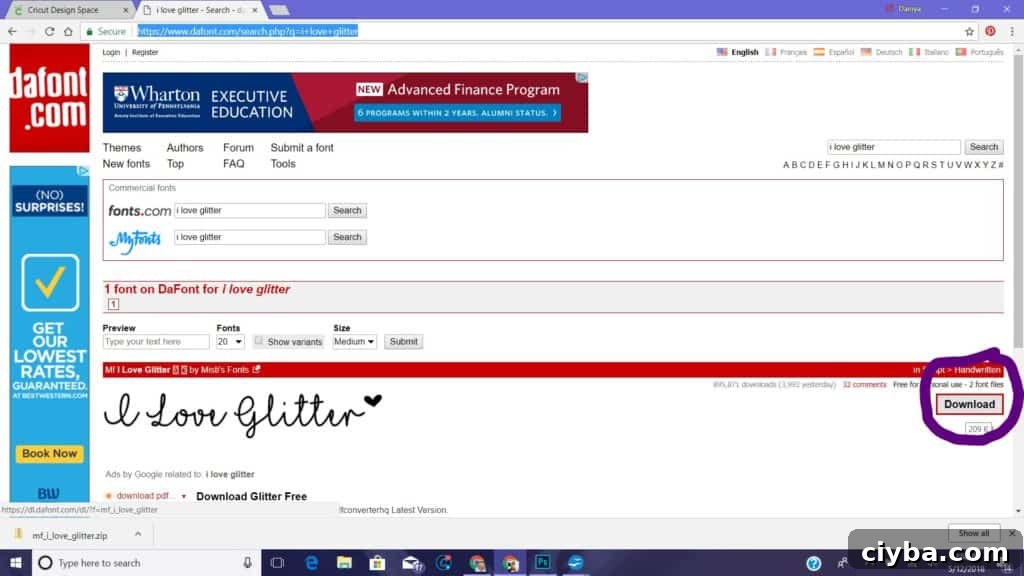
3. Add the couple’s names: Create a new text box and select a decorative script font you like. If you need to install a font, do so via your system fonts, then restart Design Space so the font appears. Type the first and second names separated by a heart symbol (Shift + dash on many keyboards), and enclose them in brackets to create an outline look.
4. Tighten the text: Reduce letter spacing until letters and connecting strokes touch, then use the Weld function to merge the script into a single shape. Change its color temporarily so it’s easy to see against the last name.
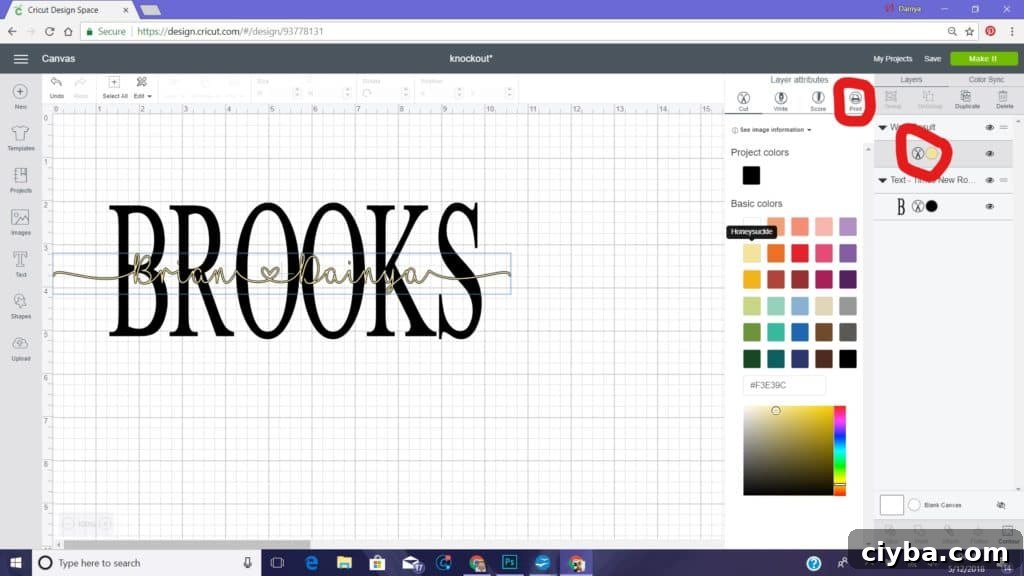
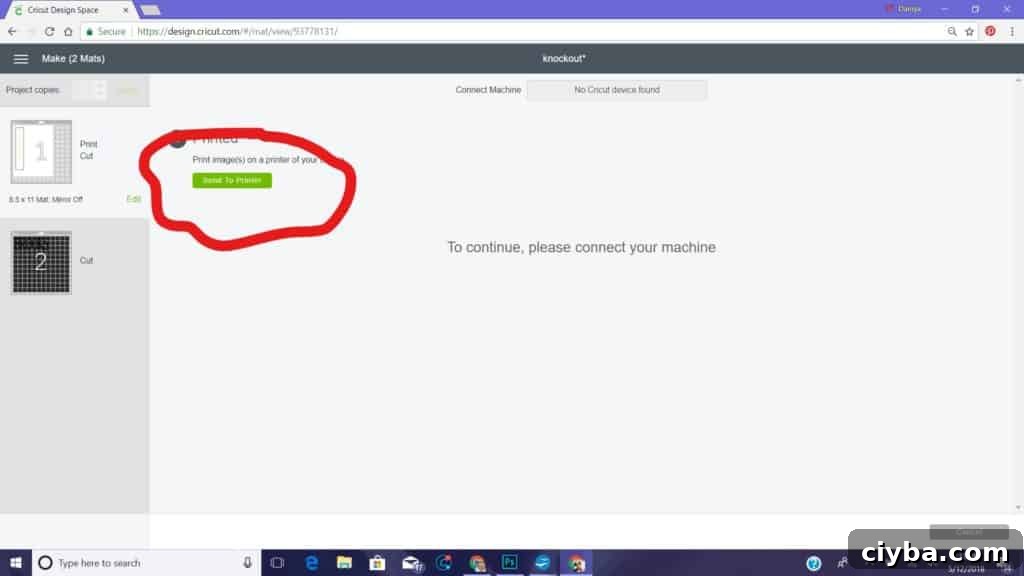
5. Prepare to export: Change the script layer to Print (even if you won’t actually print) so you can save a clean image. Go to Make It, choose Send to Printer, ensure Bleed is on, then right-click the preview image and save it to your computer. Cancel out of the print dialog when finished.
6. Upload as a cut file: In Design Space use Upload > Browse to import the saved image. Select Complex image type, use the eraser/wand to remove the background and any stray areas so only the script remains, and save it as a Cut image.
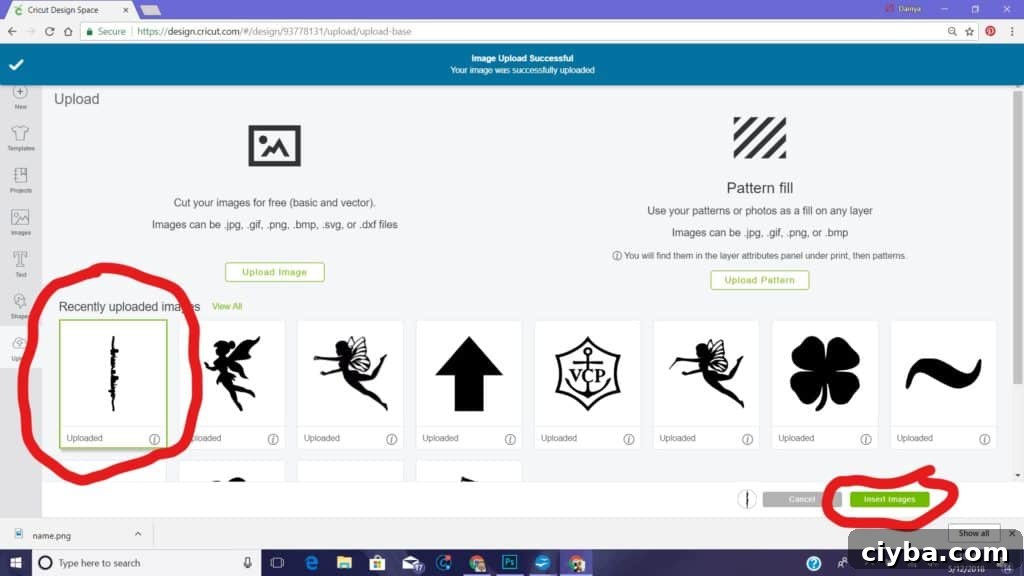
7. Position and slice: Insert the cleaned script back into your canvas, rotate and resize it to be horizontal, and place it over the last name where you want the knockout effect. Select both the outline script and the last name (hold Control/Command while clicking each) and use Slice to cut the script shape out of the last name.
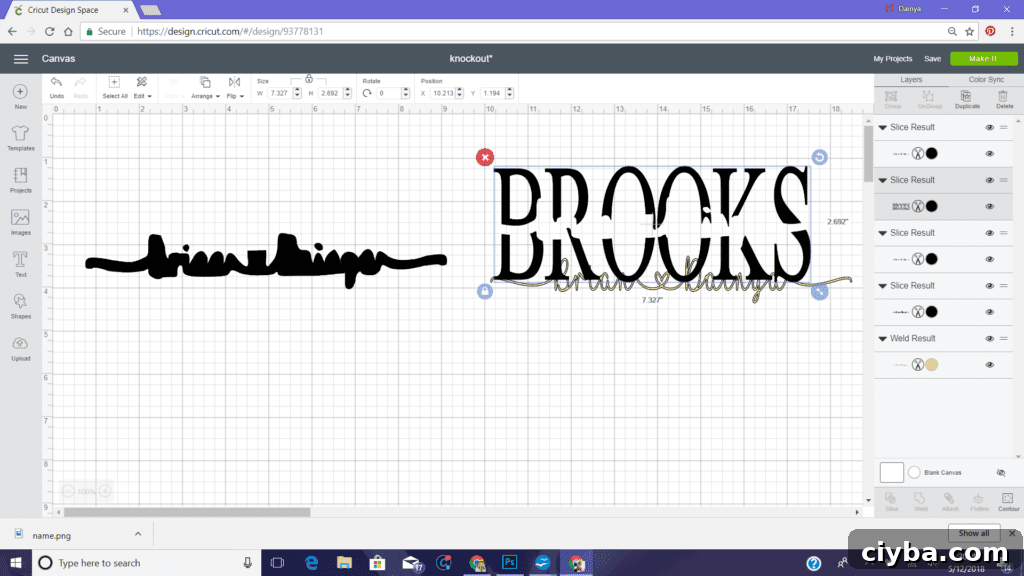
8. Clean up layers: Move the sliced last name aside, delete extra slice layers you don’t need, then return the main last-name shape and position the inner names where they look best. Make any final size adjustments for balance and legibility.
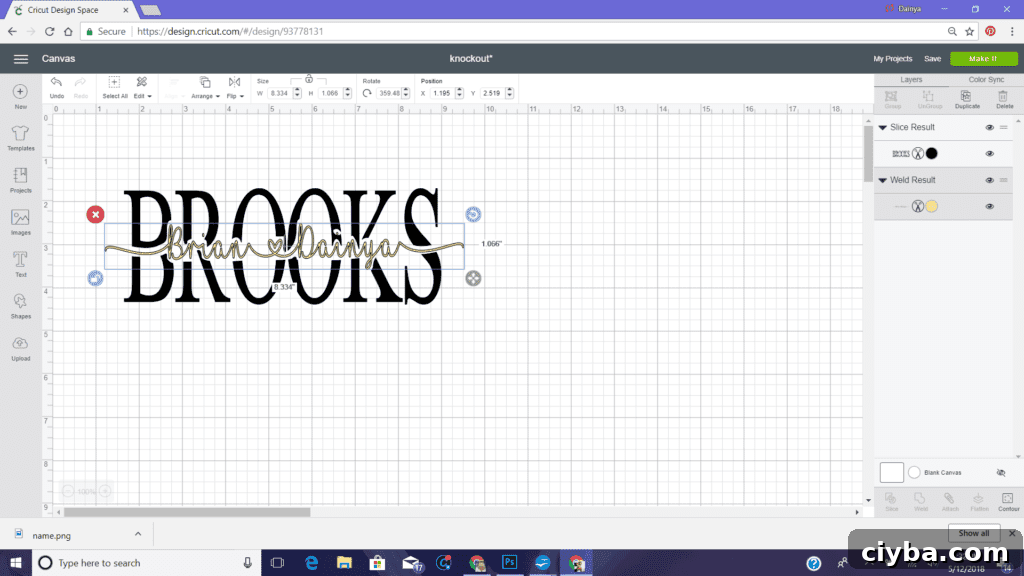
9. Optional details and production: Add a year or “Since” date if desired. For adhesive vinyl, cut as usual. For heat transfer vinyl (HTV) remember to mirror the design before cutting.
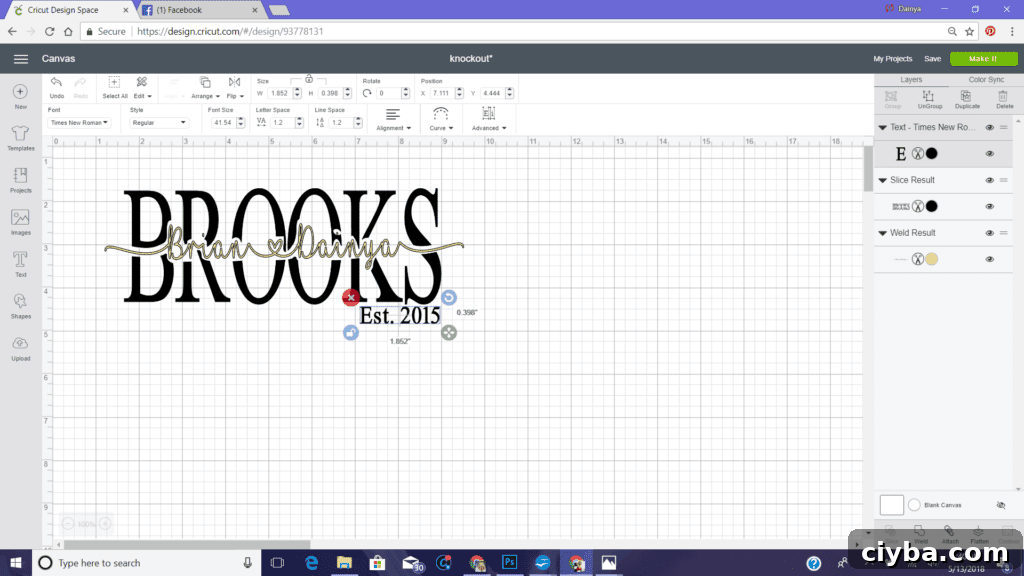
With these steps you can create a clean, professional-looking last-name knockout image that makes a thoughtful, personalized gift. Experiment with different fonts, placements, and color combinations to match the couple’s style or your chosen surface.