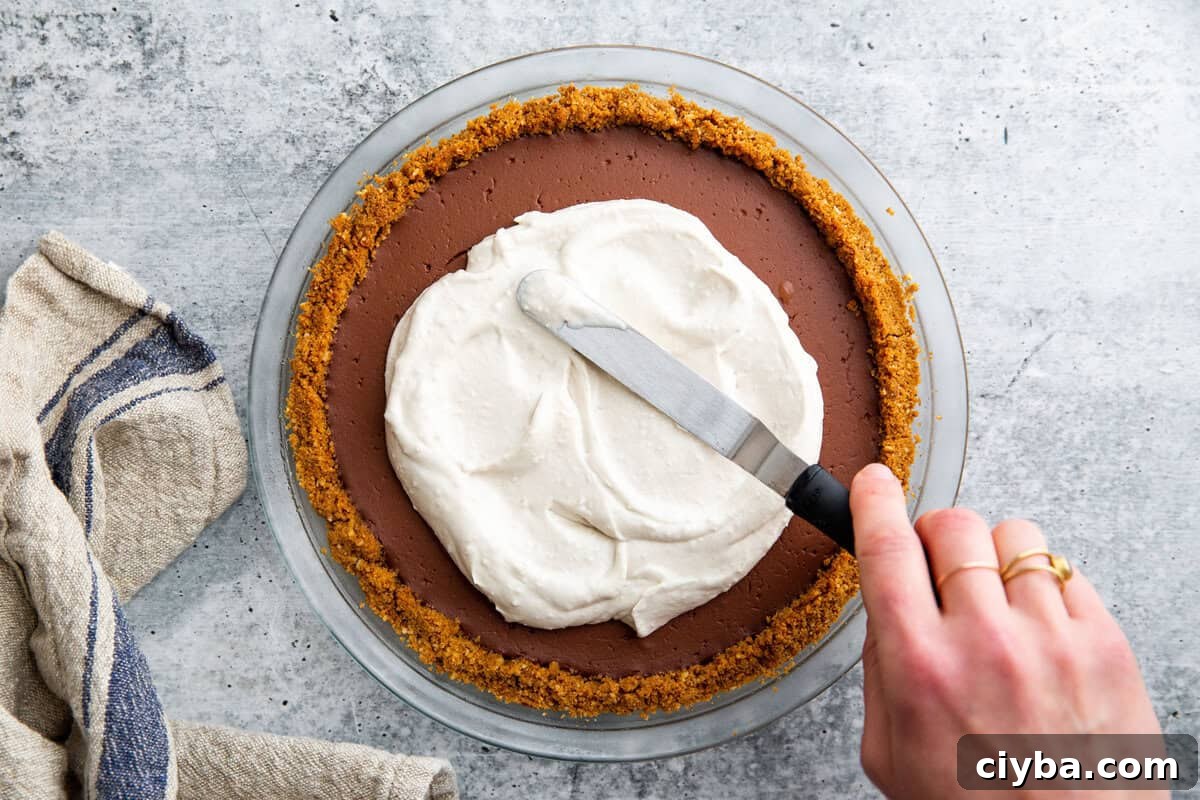
Tired of runny whipped coconut cream? This light, fluffy version is dairy-free, naturally sweetened, and takes just minutes to make. Whether you’re topping summer berries or a holiday pie, this vegan whipped topping holds its shape and tastes delicious—without any refined sugar.
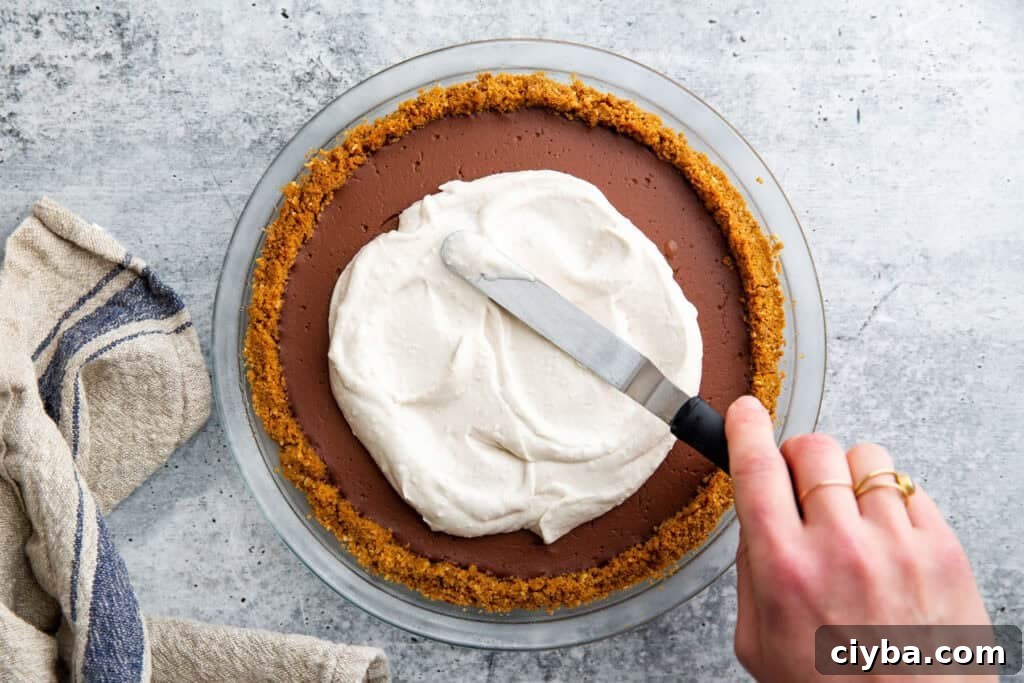
Table of Contents
Why You’ll Love This Coconut Whipped Cream Recipe
With only a few pantry ingredients—full‑fat coconut cream, maple syrup, vanilla, and a pinch of salt—you can make a naturally sweetened, dairy‑free whipped cream that rivals traditional whipped cream in texture and taste. It’s vegan, easily made paleo-friendly, and can be Whole30 compliant if you skip the sweetener. The recipe is fast, reliable, and forgiving: no watery separation, no odd textures, and a clean, pleasant coconut flavor that complements many desserts.
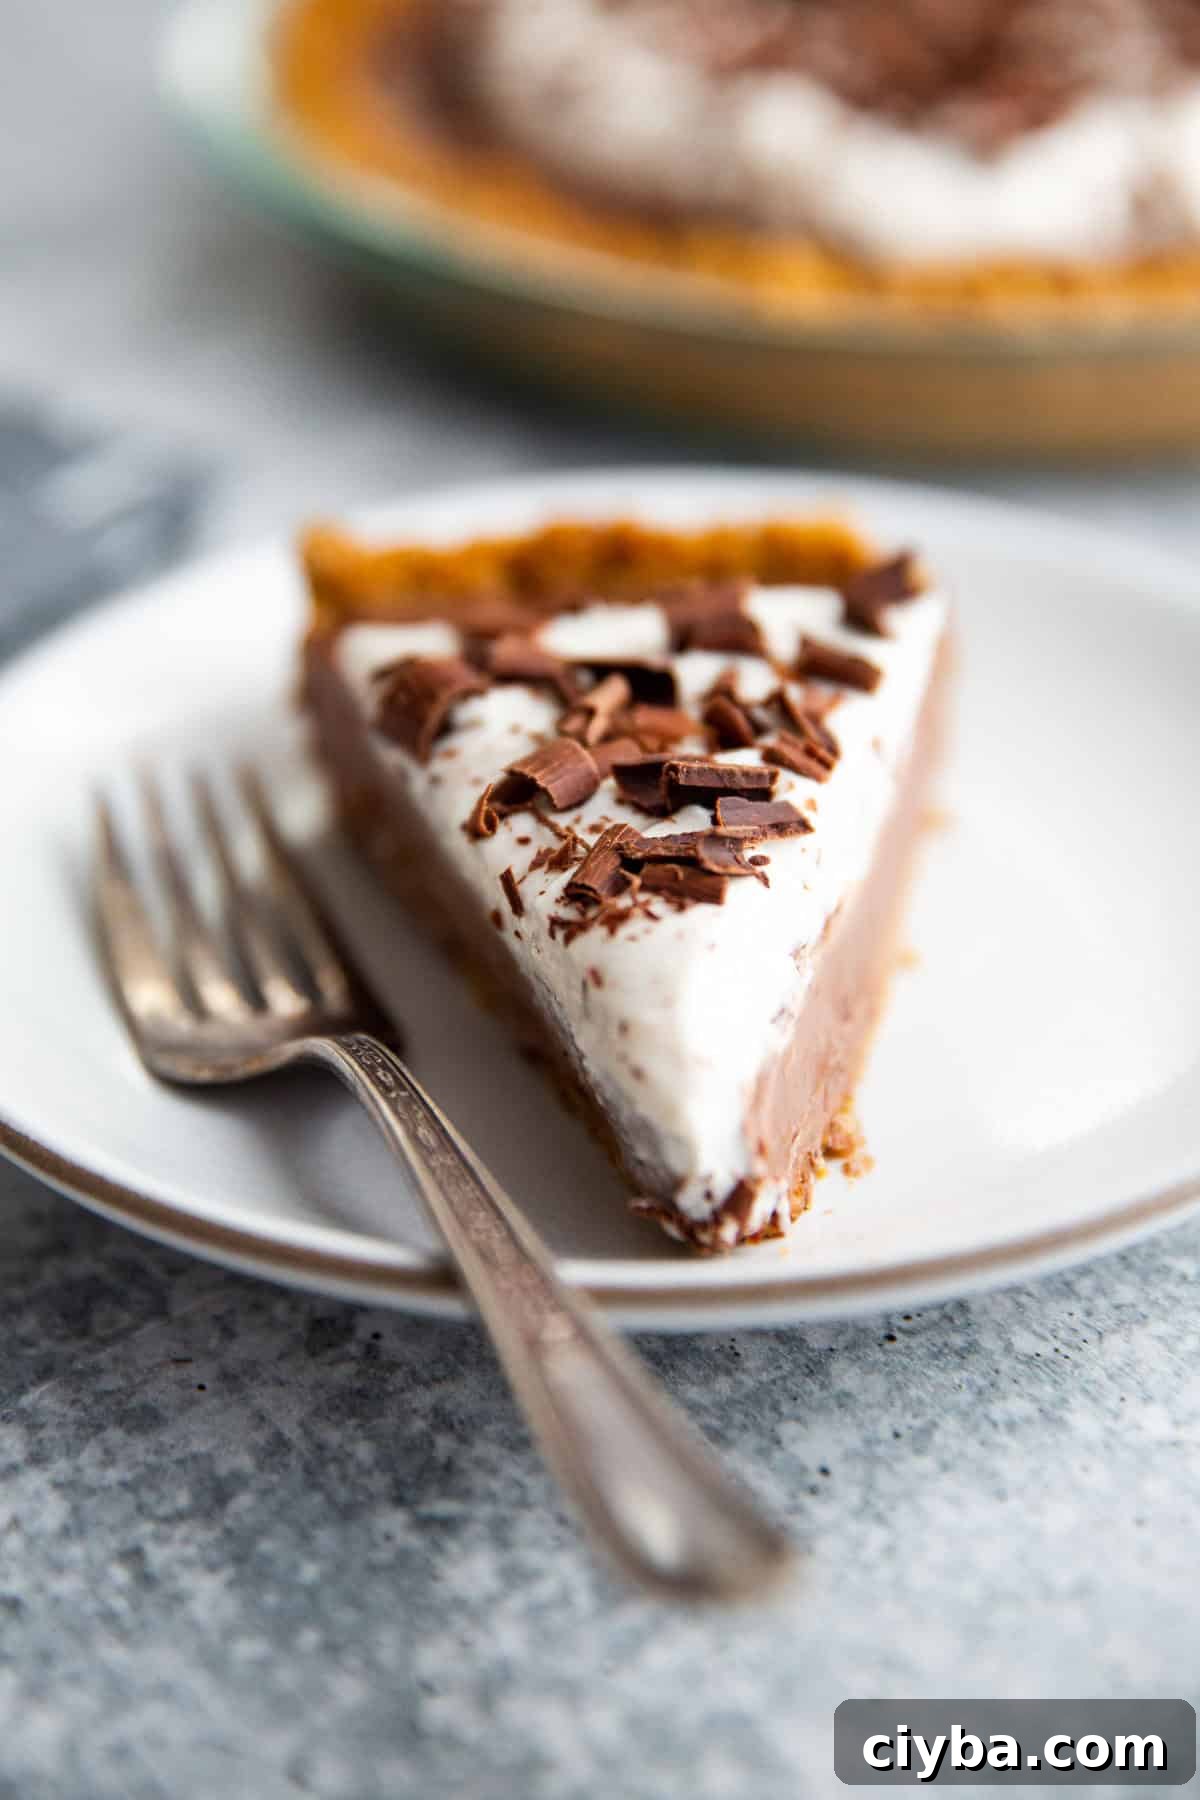
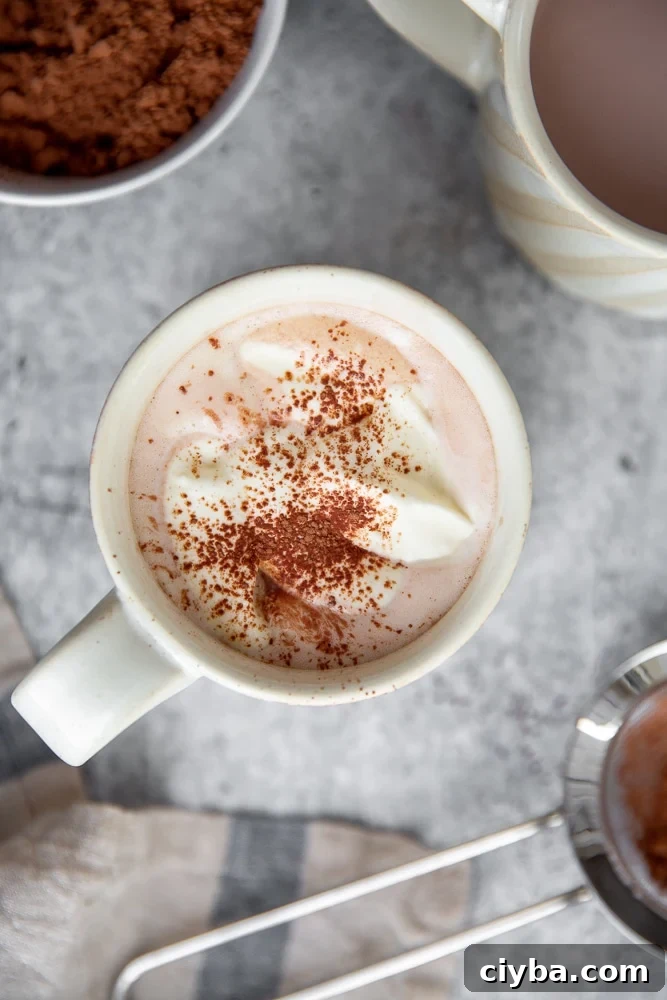
This coconut whipped cream is versatile. Use it as a topping for pies, a swirl in hot chocolate, a light layer on tarts, or as a creamy finish for cakes and fruit. It whips up in minutes and holds its shape well when chilled briefly.
Ingredients You’ll Need
- Full‑fat coconut cream: Use an unsweetened can labeled coconut cream (not cream of coconut). Avoid light versions or cans with added gums or emulsifiers, which can prevent proper whipping. You want the thick cream, not the liquid.
- Maple syrup: A refined sugar‑free sweetener that enhances flavor without overpowering. Honey or a monk fruit sweetener can be used as alternatives.
- Vanilla extract or paste: Adds warmth and depth of flavor.
- Fine sea salt: A small pinch balances and brightens the sweetness.
- Optional swap: If you prefer traditional whipped cream, beat 1 cup heavy cream with 1 tablespoon sugar and 1 teaspoon vanilla until soft to medium peaks form.
How to Make Coconut Whipped Cream
Step 1: Chill the can of coconut cream in the refrigerator for 2–3 hours. Do not shake the can: you want the cream to separate from the liquid.
Step 2: Carefully open the chilled can and scoop the hardened cream off the top into a medium mixing bowl. Reserve the thinner liquid left at the bottom of the can for adjusting texture later.
Step 3: Using electric hand beaters or a stand mixer, beat the coconut cream until smooth and creamy. Add the maple syrup, vanilla, and a pinch of salt and continue to beat until fully combined.
Step 4: Beat on high until the mixture becomes light and fluffy. If the whipped cream is too thick or slightly grainy, add a small splash of the reserved coconut liquid and beat again until smooth. Taste and adjust sweetness or salt as desired.
That’s it—spoon it over pies, layer it into parfaits, dollop it on hot drinks, or serve it with fresh fruit. Store leftovers chilled in an airtight container; the cream will firm up slightly in the fridge and can be stirred before serving.
Why Your Coconut Cream Isn’t Whipping
If your coconut whipped cream turns out soupy, grainy, or fails to whip, review these common causes and fixes.
- You used coconut milk, not cream. Coconut milk is thinner and often does not separate enough to form stable cream. Always use full‑fat coconut cream.
- The can contains emulsifiers. Some brands add gums or stabilizers that prevent separation. Choose pure coconut cream without additives.
- The cream wasn’t cold enough. If the cream is soft, chill it longer until it firms up.
- Warm tools or bowl. Cold beaters and a cold bowl help achieve volume and a smooth texture more quickly.
Recipe FAQs
Can I use coconut milk instead of coconut cream?
Not ideal. Coconut milk is thinner and typically won’t separate cleanly. For best results, use full‑fat coconut cream.
Is coconut whipped cream vegan?
Yes. When sweetened with maple syrup or another plant‑based sweetener (not honey), the recipe is fully vegan and dairy‑free.
How do I sweeten it naturally?
Maple syrup is a great choice. For a sugar‑free alternative, use monk fruit or a blend recommended for baking. Adjust to taste.
Can I make it ahead?
Yes. Store in an airtight container in the refrigerator for up to 2–3 days. It will firm up slightly; stir gently before serving.
Get the Recipe

Homemade Coconut Cream (Refined Sugar‑Free!)
Ingredients
- 1 (13.5‑ounce) can coconut cream, refrigerated for 2–3 hours (chill the whole can)
- 1 tablespoon maple syrup
- 1 teaspoon vanilla paste or extract
- Pinch fine sea salt
Instructions
- Carefully open the refrigerated can of coconut cream and scoop out the solids on top, transferring them to a medium bowl. Reserve the liquid on the bottom of the can.
- Using electric hand beaters, beat the coconut cream until smooth.
- Add the maple syrup, vanilla, and a pinch of salt. Beat on high until the whipped cream is completely smooth. If it’s too thick or slightly grainy, add a small splash of the reserved liquid and beat until smooth. Adjust sweetness and salt to taste.
Notes
Storage: The coconut whipped cream can be refrigerated in an airtight container for up to 3 days. It will firm up slightly in the fridge—stir before using.
- Use unsweetened coconut cream, not coconut milk.
- Chill the can for 2–3 hours to let the cream separate. Overnight chilling can make the cream too hard to beat.
- Swap maple syrup for granulated sugar, monk fruit, or stevia if desired.
- To make traditional whipped cream instead, combine 1 cup heavy cream with 1 tablespoon sugar and 1 teaspoon vanilla, and beat to medium peaks.