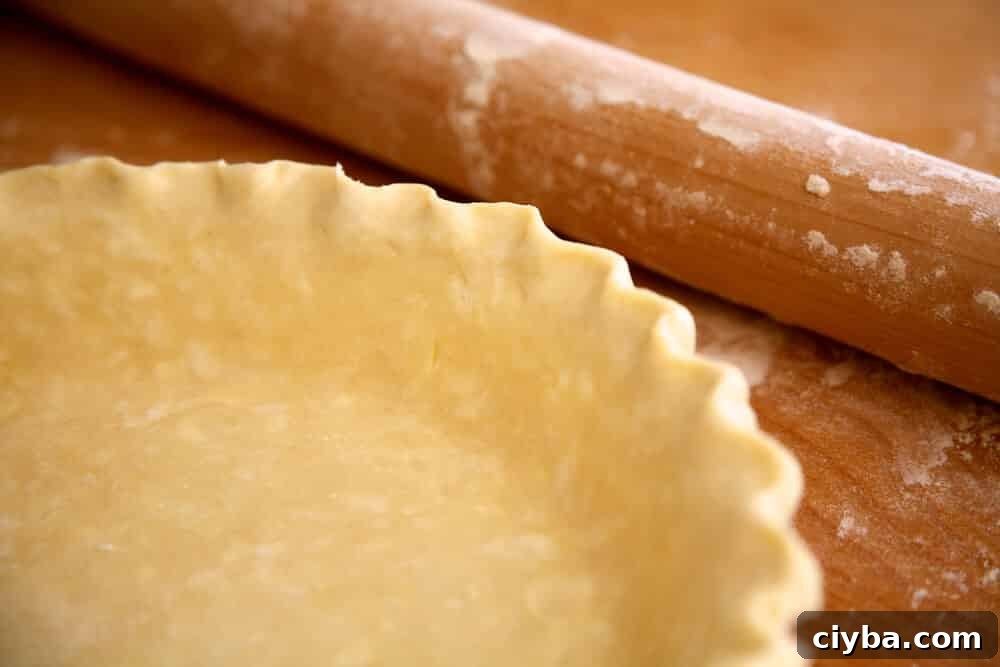
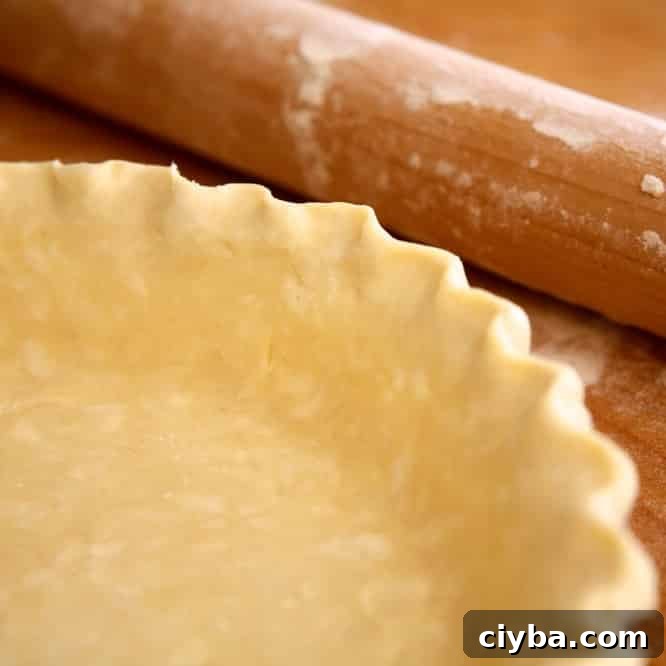
🎥 Quick Video
Watch the short demonstration to see the dough come together and to follow the rolling technique. If you prefer, follow the full written instructions below.
About This Recipe
Homemade pie crust can feel intimidating at first, but with a reliable method and a little practice you’ll be rolling out perfect crusts in no time. This egg-and-vinegar pie crust is my preferred everyday recipe because it produces a tender, flaky crust that is flexible enough to roll without cracking. It requires no special equipment—just simple bowls and a pastry cutter or a fork—and it uses a blend of butter and shortening for flavor, structure, and ease of handling. The addition of an egg and a touch of apple cider vinegar helps bind the dough and tenderize the gluten so the crust stays pliable and easy to shape.
This crust is forgiving and versatile: it works well for fruit pies, custard pies, and cream pies when blind-baked. Make the dough ahead of time for the best results—chilling improves texture and simplifies rolling. Below you’ll find the ingredient list, step-by-step instructions, and tips for blind baking and fully baking pie shells.
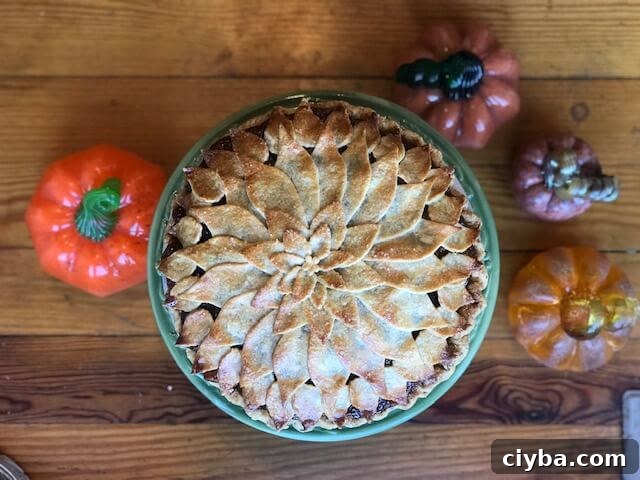
Egg and Vinegar Pie Crust Ingredients
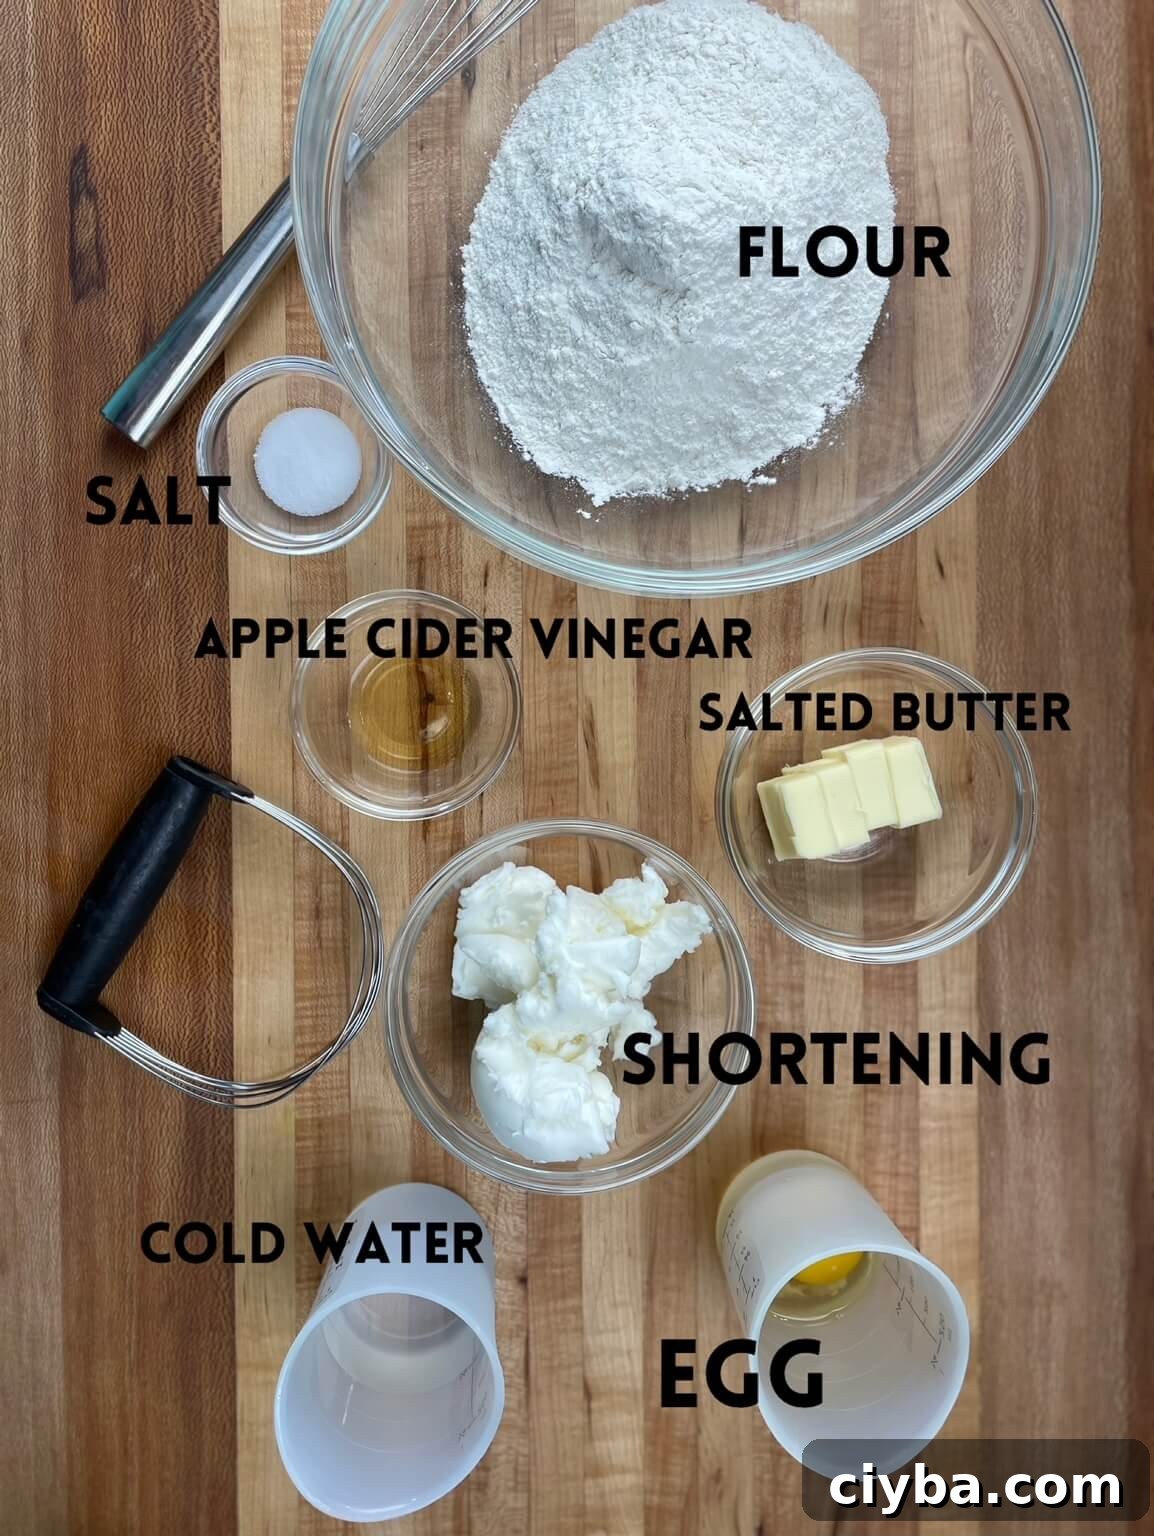
- All-Purpose Flour: 341 grams (about 2 ½ cups + 3 tablespoons). Use a reliable brand; too much flour makes dough dry and prone to cracking.
- Salt: 1 ½ teaspoons to enhance flavor and balance filling sweetness.
- Salted Butter: 2 ounces (½ stick), melted then cooled slightly. Adds richness and helps the crust brown.
- Shortening: 170 grams (¾ cup + 2 tablespoons). Shortening contributes tenderness and helps the dough hold its shape while rolling and baking.
- Egg: 1 large, lightly beaten. Acts as a binder and yields a more cohesive, pliable dough.
- Apple Cider Vinegar: 2 teaspoons. Tenderizes the dough by relaxing gluten; you won’t taste it after baking. White vinegar can be used as a substitute.
- Cold Water: Up to ½ cup, divided. Use cold water to keep fats solid and promote flakiness. Add only as needed so the dough is moist but not wet.
Make Your Pie Crust in Advance
For best results, make the dough the day before and refrigerate it in a covered bowl overnight. If pressed for time, chill for at least 2 hours. Dough can also be frozen; thaw in the refrigerator before rolling. Rolled crusts can be frozen in pie tins for up to three months—firm them in the freezer before wrapping to avoid damage. When ready to use, let frozen crusts sit at room temperature just 10–15 minutes so they are still very cold when baked.
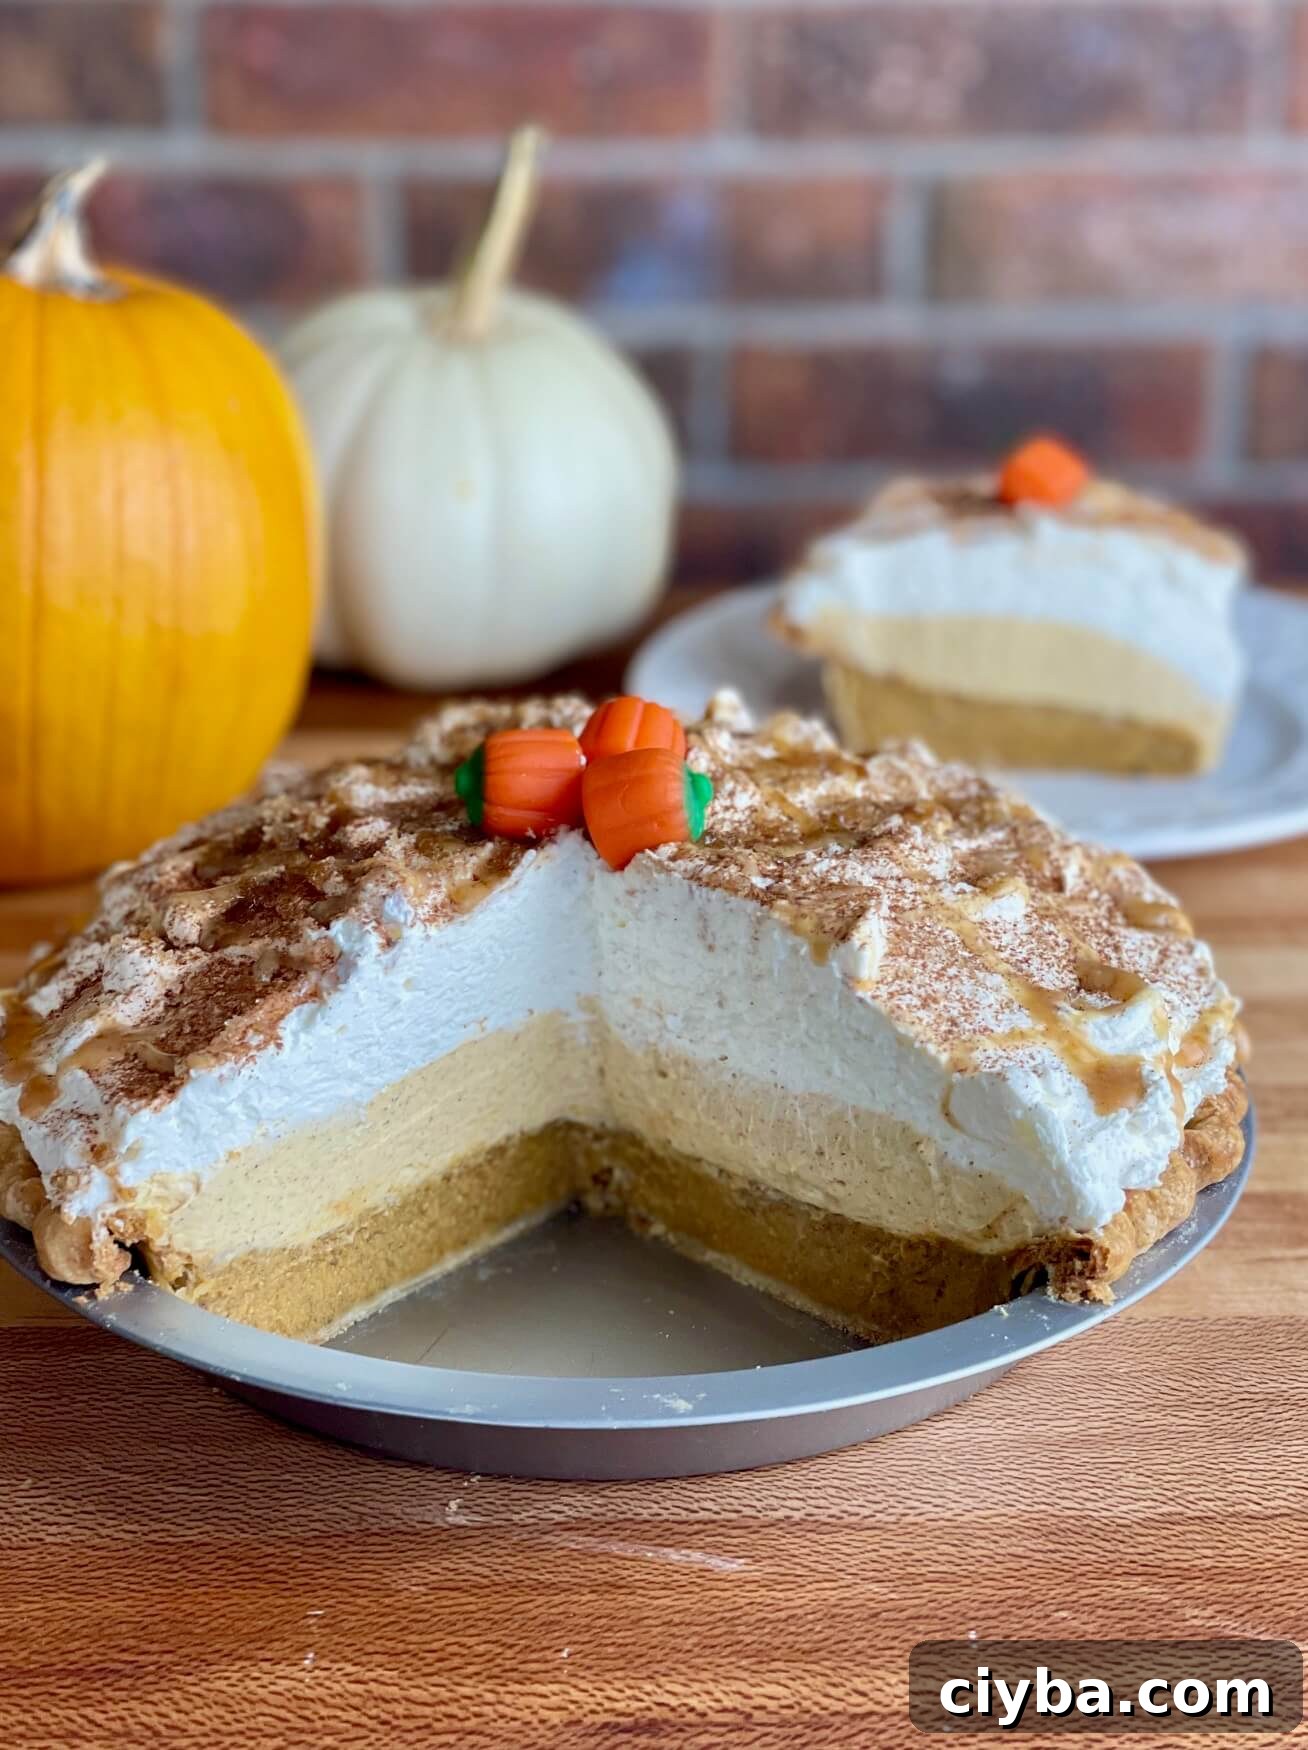
Tips for a Perfectly Rolled Out Pie Crust
- Use sturdy pie pans. Thin, flexible tins can lead to cracking and uneven baking. Heavy-duty metal pans provide better support and more consistent results.
- Flour the work surface and rolling pin generously while rolling. A dusting of flour prevents sticking and helps you shape a round, even disc.
- Turn and lift the dough often as you roll. Rotate the dough, sprinkle flour underneath when needed, and keep edges even for a neat circle.
- Roll the dough so that the circle is at least 4 inches larger than your pie pan. This gives you enough dough for the rim and a crimped edge while minimizing shrinkage during baking.
- Use pie weights or dried beans for blind baking to prevent the shell from shrinking. A pie shield or foil ring around the edge protects the rim from over-browning during longer bakes.
This crust pairs well with fruit fillings, cream pies, and custards. For pies that receive a second bake with filling, partially blind-bake the shell first as described below. For cream pies, fully bake the shell until golden and completely set.
Thanks for reading. ❤️

📖 Recipe & Step-by-Step Instructions
Pie Crust with Egg and Vinegar
2 9″ single pie crusts (or one double crust)
Equipment
- Pie pan
- Pastry cutter or fork
- Rolling pin
- Pie weights or dried beans (for blind baking)
- Pie shield or foil for edge protection
- Kitchen scale (recommended for accuracy)
Ingredients
- 2 ounces (½ stick) salted butter, melted then cooled slightly
- 1 large egg, lightly beaten
- Up to ½ cup cold water, divided
- 2 teaspoons apple cider vinegar
- 341 grams (about 2 ½ cups + 3 tablespoons) all-purpose flour
- 1 ½ teaspoons salt
- 170 grams (¾ cup + 2 tablespoons) shortening
Instructions
- Combine the lightly beaten egg, ¼ cup plus 2 tablespoons of the cold water, the apple cider vinegar, and the cooled melted butter. Whisk until uniform and chill this liquid briefly so it stays cold while you prepare the dry ingredients.
- In a large bowl, whisk together the flour and salt. Cut the shortening into the flour with a pastry cutter or fork until the pieces are pea-sized or smaller.
- Retrieve the chilled egg mixture and whisk again; it should feel very cold. If the butter has started to solidify, whisk to smooth it out so the liquid mixture is uniform.
- Pour the cold liquid over the flour and shortening. Use a spatula to fold and combine just until the dough comes together and no dry flour remains. Add the remaining water 1 tablespoon at a time only if needed; the dough should be moist but not wet. Do not overwork the dough.
- Cover and refrigerate the dough for at least 2 hours, preferably overnight. Divide the dough in half and roll each piece to about 1/8-inch thickness to make two 9″ crusts. Aim for a circle at least 4 inches larger than your pie pan so you have enough for the rim and fluting.
- Wrap and freeze pie shells for later use, or refrigerate at least 30 minutes before baking.
How to Blind Bake (partially bake) the Crust
- Preheat the oven to 350°F (175°C).
- Bake the pie crust from cold—if frozen, allow about 15 minutes at room temperature before placing in the oven.
- Crumple a square of parchment paper to make it flexible; press it into the cold crust and fill the shell to the top with pie weights or dried beans.
- Bake on the bottom rack for 10 minutes, then add a pie shield or a foil ring to protect the edges from over-browning.
- Continue baking with the weights and shield for another 15–20 minutes, until the crust is close to fully baked. The bottom may have some slightly underbaked spots if you plan to finish baking the pie with a filling. When baking a filled pie a second time, keep the shield on during the entire second bake.
Fully Baking a Pie Shell (for cream pies)
- Follow the blind-bake steps above, but continue to bake for an additional 5–10 minutes until the bottom is fully set and lightly golden. Keep the pie shield on during the bake. Using weights the entire time helps prevent shrinkage.
Notes
*Tip: Start with the lower amount of water and add more only if the dough seems dry. The goal is a cohesive but slightly tacky dough that firms up in the refrigerator.
Calories are an estimate and may vary depending on brands and portion sizes.